|
|


-- About
-- Contact
-- Diesels
-- Links
-- Layouts
-- Modules
-- Signalling
ATSF 298993 Ft-93 10-pack Fuel Foiler Spine Car
PAINT and DECALS
After the majority of construction, I airbrushed all ten units with Micro-Mark brand white acrylic airbrush primer.
Unfortunately several coats were needed to get an even finish. I then airbrushed a coat of Polly Scale acrylic
gloss in preparation for decals. I airbrushed the hitches and trucks acrylic black.
The decals are from Microscale set 87-470, which includes most of the markings needed in both the older
Railroad Roman and newer Helvetica fonts. I also made a few custom decals by creating artwork in Microsoft Visio
and printing on white decal film. For the yellow safety labels on the hitches, I used yellow decal trim film.
For clarity, the order of units is, from the brake end:
B-C-D-E-F-G-H-I-J-A
As with all freight cars, when facing the brake end with the brake wheel,
the car's "left side" is on your left and its "right side" is on your right.
entire website copyright Gregg Fuhriman
created with CoffeeCup Visual Site Designer
created with CoffeeCup Visual Site Designer
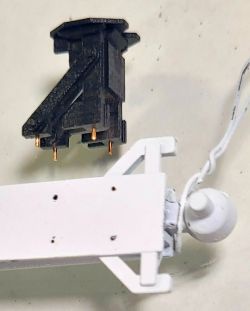
Below: The ten units after painting white. I attached craft wire to the articulation couplings to use as handles to avoid touching the wet paint.
Right: I airbrushed the hitches
black before installing them
on the painted centersills.
Also, I later removed the
white paint from the articulation
joints to ensure they moved
freely during operation.
black before installing them
on the painted centersills.
Also, I later removed the
white paint from the articulation
joints to ensure they moved
freely during operation.
Below: On both sides of the B unit, I made custom decals "PLATFORMS EQUIPPED FOR 102 INCH WIDE TRAILERS",
which the Microscale set didn't include. I assume these markings were added to the prototypes after the platform side
extensions were added, and it appears the Microscale set is for as-built 10-packs.
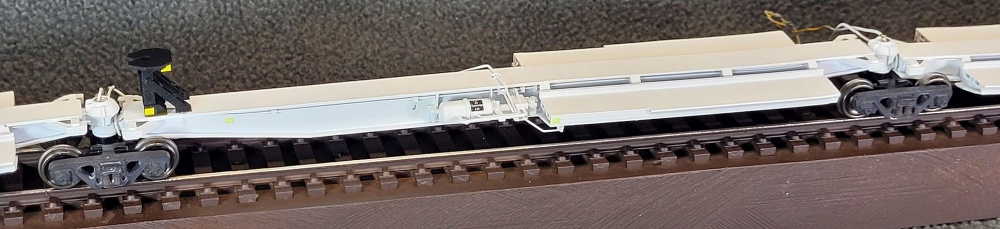
Also visible on the hitch at left is my custom made white-on-black markings. Each hitch
has a unique "LOCATION" number - "1" on the B unit and counting up to "10" on the A unit.
which the Microscale set didn't include. I assume these markings were added to the prototypes after the platform side
extensions were added, and it appears the Microscale set is for as-built 10-packs.
Also visible on the hitch at left is my custom made white-on-black markings. Each hitch
has a unique "LOCATION" number - "1" on the B unit and counting up to "10" on the A unit.
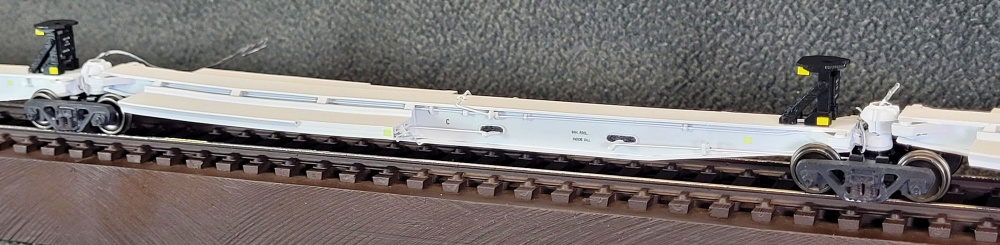
Below: On the C unit, I made a custom decal "BRK. REGL. INSIDE SILL" because this decal was misspelled on the Microscale sheet.
Also note the oval false slots - I carefully brush-painted them weathered black to simulate the "holes" through the centersill.
Also note the oval false slots - I carefully brush-painted them weathered black to simulate the "holes" through the centersill.
Below: The D unit also has painted oval false slots.
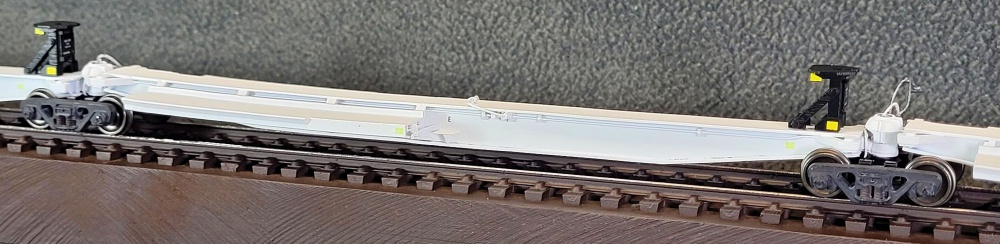
Below: The E unit (and also F unit) has a flexible joint on the right side, installed after
painting and decaling. The white-on-black reservoir data label is also a custom made decal.
painting and decaling. The white-on-black reservoir data label is also a custom made decal.
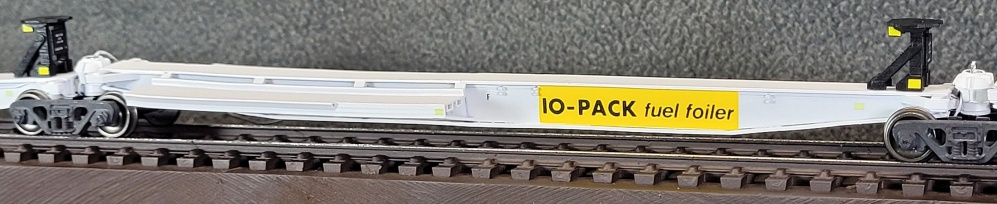
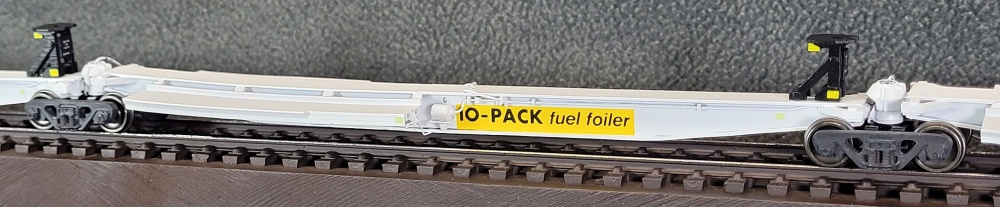
Below: The F and G units have yellow 10-PACK logos on the left side.
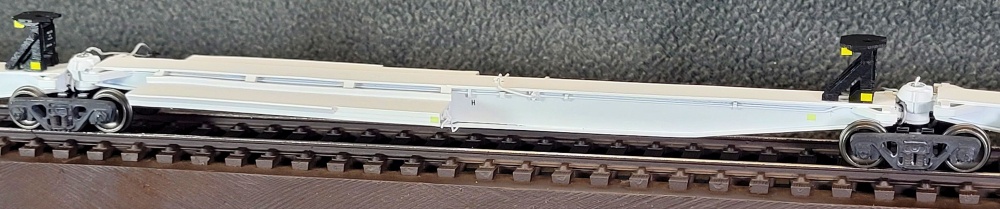
Below: The H unit left side is very plain.
Below: The I unit has a flexible joint on the right side, installed after painting and decaling,
and a yellow 10-PACK logo. To make life simpler, I trimmed off the top portion to avoid
overlapping the train-line piping - this was a compromise but I decided it was a minor one.
and a yellow 10-PACK logo. To make life simpler, I trimmed off the top portion to avoid
overlapping the train-line piping - this was a compromise but I decided it was a minor one.
Below: The J unit right side has a custom-made white-on-black reservoir data label.
After decals, the entire model was airbrushed with Dull Cote to lock down the
decals and provide a rough surface for weathering powders to adhere better.
The weathering process is described on the "Finished Model" page.
The weathering process is described on the "Finished Model" page.